


On October 1, 2026, Earendil officially released Pi 1.0, the runtime that powers its AI agent. The release brings in MCP, a standard for connecting external tools, along with Codemode, which combines multiple operations in JavaScript. Tool descriptions can now be loaded only at the moment they are needed.
The design philosophy carries over into the stable release: keep the core small, and let users rearrange tools and models to suit their own work. As you hand more tasks to an AI, the key to understanding this update is that you decide what information it reads, which operations it may perform, and how much history is kept.
How Pi 1.0 Changes the Way Models and Tools Connect
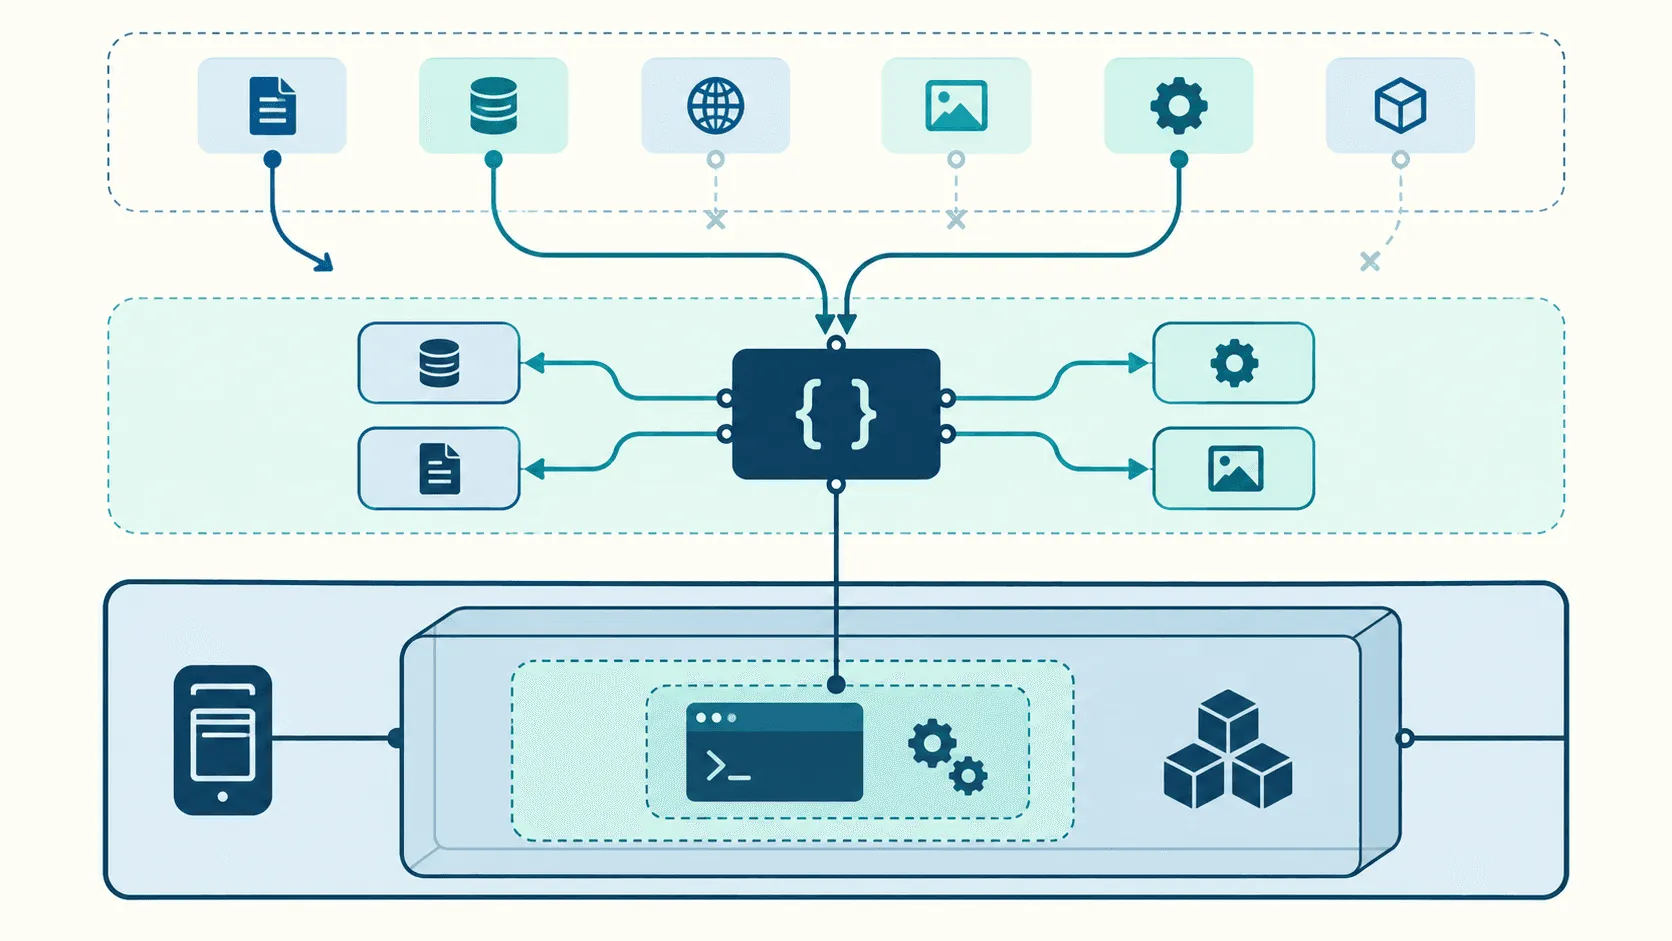
Pi is an AI agent that runs in the terminal, the screen where you type text to operate your computer. Once Pi is launched, you can ask it to do work in natural language.
Pi itself, however, is not a new language model. The connected model decides what to do next, Pi runs tools such as file operations, and the results are passed back to the model.
The mechanism that manages this back-and-forth is called a "harness."
For example, if you ask, "Summarize what was decided in these meeting notes into a separate file," you need more than a model that composes text. You also need a tool to read the notes and a tool to write the result.
Pi records the conversation and the results of tool executions, and passes the model the information it needs for its next decision. Its role expands from a chat that simply returns answers to a tool that moves real work forward using the files on your machine.
Four tools are enabled by default: read for reading files, bash for running commands, edit for modifying content, and write for writing to files.
Because bash gives access to existing development tools, the range of tasks Pi can perform is broad even with so few built-in tools. What can actually be executed also depends on the OS and environment in which Pi is launched.
MCP, newly added in this release, is a common standard for connecting external tools and data to an AI agent. By connecting to an issue-tracking service or internal documents, you can extend what Pi handles beyond local files.
However, the more tools you add, the more tool descriptions must be passed to the model. An AI can process only a limited amount of information at once, and with APIs the volume of input tokens also affects pricing.
Pi therefore combines "lazy tool loading," which searches for the necessary tools and loads their descriptions only when needed, with Codemode, which processes multiple operations together.
In Codemode, the model writes JavaScript that calls multiple tools, narrows down the results, and then returns them to the conversation.
For example, it could fetch several issues, select only those with approaching deadlines, and count them by assignee. This reduces the need to pass large volumes of retrieved results straight to the model and go back and forth many times.
Earlier versions of Pi took the approach of not building MCP into the core.
In an explanation on September 29, Earendil said it had concluded that the execution mechanism for finding tools and combining structured data could be used not only for MCP but also for things like classification models.
Rather than simply adding more connection targets, it rethought how tools themselves are handled.
The release timing also needs to be considered in two parts.
MCP, Codemode, and virtual models were offered first in Pi 0.99.0 on September 29, and 1.0 was released on October 1.
The 1.0.0 changelog says full-screen display is now standard, and the developer reports that requests to GPT-5.6 with the standard tools and Codemode enabled were reduced from about 5,300 tokens to about 3,300 tokens.
This reflects shorter system instructions and tool descriptions; it is not a figure comparing overall cost or accuracy across a whole task.
If You're New, Start with Reading Tasks
The Pi core is released under the MIT license, but the fees and usage limits of the AI model you connect are separate.
Connection options include authentication with a supported account, API keys, and local models, and which ones are available depends on the model provider and your settings.
If you're just starting out, picking one of the connection targets Pi supports out of the box makes it easier to follow the setup flow.
Installation and Launch
On macOS and Linux, you can use the official installer. The following command downloads and runs the installation script.
curl -fsSL https://pi.dev/install.sh | shIf Node.js is already installed, you can also install via npm. Node.js 22.19 or later is required. Choose one or the other.
npm install -g --ignore-scripts @earendil-works/pi-coding-agentWith the official installer, dependency package versions are pinned, and you update with pi update.
With an npm install, on the other hand, dependency versions are not pinned in the same way.
After installing, check the version with pi --version.
These are the current steps for the 1.0 series; they do not mean that running them will always install exactly 1.0.0.
For Windows, the official announcement gives the following command.
powershell -c "irm https://pi.dev/install.ps1 | iex"When running Pi directly on Windows, bash normally uses Git Bash, so check whether Git for Windows is available.
If you use WSL, install Pi on the Linux side. Choosing based on whether your everyday files and development tools are on the Windows side or the Linux side makes it easier to keep path handling consistent.
For your first working folder, copy over a short note that contains no confidential information.
For example, create a folder called pi-practice and save meeting-notes.md in it.
After moving to that folder in the terminal, you can start Pi limited to read-only tools.
cd pi-practice
pi --no-extensions --no-mcp --tools read,grep,find,ls
In this example, extensions and MCP are disabled, and the tools the model can use are narrowed to those needed for reading and searching files.
This configuration is for trying out the standard built-in cloud connections; specifying --no-extensions also disables built-in extensions such as llama.cpp.
If you use a local model, you need a configuration with the extension required for that connection enabled.
Also, what this setting restricts is the tools the model can use; it does not limit readable files to the trial folder.
Connect a Model and Make a Small Request
Once the Pi screen opens, enter the following. Commands starting with / from here on are used inside Pi's screen.
/loginSelect a connection target and authenticate by following the on-screen instructions.
Then enter /model to choose from the available models. You can change the model's thinking effort with /thinking, but the available options differ by model.
Credentials are normally stored in ~/.pi/agent/auth.json. Rather than pasting an API key into notes or the conversation, use the provided authentication input field.
Use @ to specify a note. You can search for files while typing, so there's no need to remember long paths.
For example, you can ask like this:
@meeting-notes.mdを読み、決定事項、担当者、期限を整理してください。
書かれていない担当者や期限は補わず、「未記載」と示してください。
まず画面に結果を出してください。
What Pi read and what result it returned are shown on screen.
Press Ctrl+O to expand tool output, and Escape to stop the current work.
If you type an additional instruction and press Enter while processing is under way, it is reflected in how things proceed after the current response or running tool operation finishes.
Note that this is not a function for undoing operations that have already completed.
Once you've checked the result and want to save it to a file, exit Pi and switch to a configuration with the normal tools enabled in the same folder.
Here is an example that keeps extensions and MCP disabled while enabling the standard read, write, and command execution tools:
pi --continue --no-extensions --no-mcp --tools read,bash,edit,writeThen ask, "Save the decisions you confirmed to action-items.md, and don't change the original notes."
--continue resumes the most recent conversation held in this folder.
If you make your first task open the saved file and check it against the original notes, you verify not only whether Pi reads the text correctly but also the actual file operations.
However, normal Pi does not ask the user for approval each time it uses a tool; it runs with the permissions of the OS user that launched it.
For important work, prepare a state you can restore from, such as a backup or Git.
When dealing with unknown code or unattended execution, you can also run all of Pi inside a container or virtual machine that has been given only the necessary files.
Simply creating a trial folder does not prevent access to other folders.
Keep History and Procedures, and Tailor Pi to Your Work
Pi's history is not just for continuing a conversation. It is saved as a tree structure that lets you return to an earlier point and try a different approach.
With /tree, you can go back to an earlier message, change your request, and create a different branch.
If you want to separate it into its own session, use /fork.
For example, you can try organizing notes in two ways, by assignee and by deadline, and keep the reasoning behind each.
However, even if you roll the conversation back to an earlier point, files that have already been rewritten are not restored.
To compare alternatives, you need to use different output file names or manage the change history with something like Git.
It helps to think of the conversation history as a record of decisions and file diffs as the actual work results.
When a conversation grows long and nears the limit of what the model can handle, older history is automatically summarized.
You can also summarize manually with /compact, and the original conversation record itself remains.
However, what is passed to the next model call is the summarized content and recent information.
For that reason, rather than embedding conditions you must always enforce only in the conversation, you can record them briefly in AGENTS.md in the working folder.
# このフォルダでの作業
- メモにない人名や期限を補わない。
- 元資料を変更せず、整理結果は別ファイルへ保存する。
- 日本語で回答し、判断できない点を明示する。
Pi loads this kind of instruction from the working folder, its parent folders, and so on.
Personal settings go in ~/.pi/agent/, and per-project settings go in .pi/.
Most settings and extensions placed in the latter are loaded after the user decides to trust that project.
If you want to shorten requests you type every time, prompt templates are an easy option.
Save something like the following in .pi/prompts/review.md in your working folder.
直前に作った整理結果を元資料と比較してください。
担当者、期限、決定事項の追加や抜けを探し、修正が必要な箇所を報告してください。
After allowing trust for the project and running /reload in normal Pi, you can reuse the same request from /review.
The file name becomes the command name as is.
To gather longer procedures and reference materials, you can use a skill with a SKILL.md.
At startup, Pi reads only the skill's name and description, and loads the detailed procedure when it's needed for actual work.
To call one explicitly, use /skill:name.
When you reach the stage of adding your own tools or in-screen commands, you use extensions written in TypeScript.
Extensions run inside Pi's process and can access files and credentials, so review any code before installing it.
There's no need to replace work that only requires reusing instructions with executable code from the start.
Separating "Descriptions" from "Permissions" When Adding MCP
When you add an MCP server to Pi, you can use the tools that server provides.
An MCP server is a program that provides document search and operations on external services in a common format.
If you only want to read notes on your machine, Pi's built-in standard tools are enough.
MCP becomes necessary when you want to use connection targets Pi doesn't have by default, or operations specific to a given service.
To try out the connection method, you can use the file-operation server given as an example by the official documentation.
In an environment where Node.js and npm's npx are available, run the following from your working folder.
pi mcp add --local filesystem -- npx -y @modelcontextprotocol/server-filesystem .
pi mcp list
pi
--local saves the settings to .pi/mcp.json in that working folder.
Everything after -- is the command that actually starts the server, and the trailing . passes the current folder to the server.
You can check the connection status with /mcp inside Pi, and after completing any necessary trust confirmation, ask, "Use the filesystem MCP tools to list the notes in this folder."
This example is for trying out an MCP connection, not for replacing the file operations built into Pi.
When connecting to an external service, configure it according to the URL and authentication method specified by each MCP server.
Lazy tool loading is a mechanism for reducing the tool descriptions passed to the AI; it is not a feature that restricts the operation permissions themselves.
Organizing the official Pi 1.0 specification by what each mechanism controls, the differences are as follows.
This classification is based on the documentation as of October 6, 2026, and is not a measured comparison of safety.
| Setting / mechanism | What it controls | What users should keep distinct |
|---|---|---|
MCP direct, deferred, codemode |
When tool descriptions are passed and how tools are called | Even with descriptions loaded later, the tool itself remains usable. hidden is different: it makes the tool unreachable |
| JavaScript sandbox in Codemode | The execution environment of the script itself | The script cannot directly touch files or network APIs, but the tools it calls act on the outside world |
Tool selection via --tools and similar |
The set of tools the model may use | It is a setting for narrowing tools, not for isolating all of Pi from the OS |
| Project trust confirmation | Loading of settings, extensions, and similar items from the working folder | Granting trust does not limit the range of files that can be accessed |
| Isolation via containers, virtual machines, etc. | The execution scope of Pi, including files and credentials | Information and connection targets passed into the environment remain usable inside it |
The classification is based on Pi's MCP tool exposure, Codemode execution environment, CLI tool selection, and explanation of OS permissions and isolation.
Settings that reduce the information passed to the model and settings that narrow what can actually be accessed need to be considered separately.
In particular, specifying --tools does not automatically exclude tools provided through MCP.
This is why --no-mcp was also included in the read-only launch example.
Also, even if a script run in Codemode fails partway through, external operations completed up to that point are not automatically undone.
When running several update operations together, make sure you can later check which operations were completed.
Codemode can be used without MCP.
Add the following to .pi/settings.json in your working folder.
Remove the beginner launch options, start again with pi, and complete the project trust confirmation.
If you change settings while running, you can reload them with /reload.
{
  "defaultTools": ["+codemode"]
}
The + means adding to the standard tools while keeping them.
If you ask, "Use Codemode to read several files and compare only the necessary lines," the model writes the JavaScript that combines multiple operations.
Users do not need to write JavaScript themselves from the start.
However, if the model misunderstands the conditions, it could exclude needed lines during the narrowing stage.
Keep things in a state where you can check the underlying data as well as the aggregated results.
Model Costs and the Foundation for Long-Running Processes
In Pi, you can change models mid-conversation using /model.
You can use different models for the stage of thinking through a complex design and the stage of polishing text and formatting, and keep working while carrying over the same conversation flow.
Trying manual model switching first makes it easier to see which model suits which step of your own work.
The mechanism that automates this division is the "virtual model."
An extension registers a single model option and routes requests to the actual model and thinking effort depending on the content of the request.
Installing Pi alone does not automatically produce an optimal model configuration.
You need an extension that does the routing and an environment that can connect to each of the models.
When you switch models, the cache used with the previous model is not carried over.
Also, when a classification model does the routing, waiting time increases by the amount of that decision processing.
In /session, you can check the cost for each model actually used.
The cache-keeping feature added for Anthropic is likewise one to use while weighing it against cost.
It refreshes the cache for instructions and similar content repeatedly passed to the model so that it does not expire, but those refresh requests also consume usage.
Pi performs refreshes based on conditions such as the target model's cache validity period, and adds that usage to the session total.
Settings can be changed with cacheWarming.
You cannot conclude that overall costs will drop just from settings like "switched to a smaller model" or "kept the cache alive."
For long-running processes, "Pi Durable," released at the same time, is another option.
This is an experimental foundation for application development and does not replace regular Pi.
It is designed to save conversations and work state so that unfinished processing can resume even after a process stops.
When you use --continue in normal Pi, a person starts Pi again and carries the conversation forward.
Pi Durable, by contrast, is a mechanism for recovering the processing itself using the saved intermediate progress.
For interrupted tool calls, it is designed to retry only when it is safe to rerun, and otherwise to tell the model that the call was interrupted.
It does not guarantee that update operations against every external service will complete automatically without duplication.
It is an option for developers building apps that run long processes from a chat screen or similar, and if you only want to try Pi for work on your own machine, it's fine to start with the CLI version.
What you should check first is not how much flashy automation you can add.
It is whether Pi can read your notes correctly, save the result, and let you review the process and cost afterward.
Once you've confirmed that, adding only the connection targets and operations you need lets you use Pi 1.0's extensibility in a form that suits your own work.
- Pi 1.0 released: AI that reads files and combines tools, a beginner's guide to the harness starting with your first task
- Why did Pi 1.0 bring in MCP? How it keeps a small AI agent small
- Loading AI tools only when needed: Pi 1.0's new features and setup steps explained